- Pinning a Website to the Taskbar on Windows
- Pinning a Website to the Dock on Mac
- Benefits of Pinned Websites
- Customizing Pinned Website Icons
- Managing Pinned Websites
- Tips for Efficient Taskbar Usage
- Troubleshooting
When you’re juggling multiple websites and tabs throughout your workday, having quick access to your most frequently visited sites can save you valuable time and effort. Pinning a website to your taskbar or dock offers a streamlined way to access your favorite online destinations without the hassle of sifting through numerous tabs.
In this article, we’ll walk you through the process of pinning a website to your taskbar for quick and easy access. Whether you’re using Windows or Mac, we’ve got you covered. Say goodbye to multiple tabs and hello to a more efficient browsing experience.
Table of Contents
Why Pin a Website to the Taskbar?
Picture this: you’re working on a project, and you find yourself repeatedly opening your browser and typing in the same website URLs. Instead of enduring this repetitive process, you can simply pin those websites to your taskbar or dock. This provides you with instant access with just a single click, enhancing your overall browsing experience.
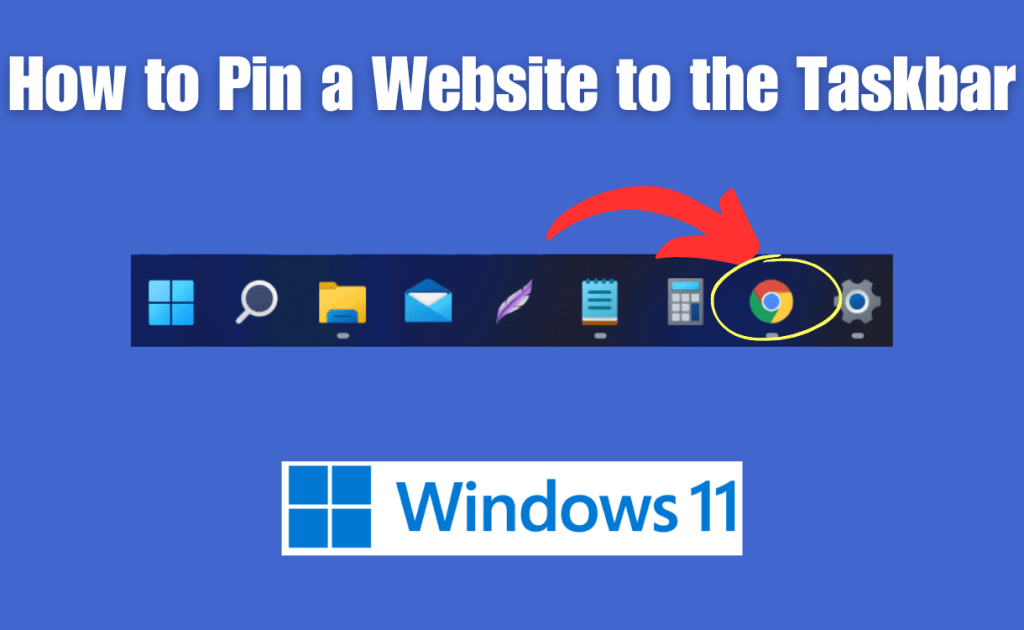
Pinning a Website to the Taskbar on Windows
Pinning a website to your Windows taskbar provides a convenient shortcut to your most frequently visited online destinations. This simple yet effective feature streamlines your browsing experience and eliminates the need to sift through a multitude of tabs.
Step 1: Open Your Preferred Browser
Begin by launching your preferred web browser. Whether you’re using Chrome, Firefox, or Edge, the process remains fairly consistent.
Step 2: Navigate to the Website
Using the browser’s address bar, enter the URL of the website you want to pin. Make sure the website is fully loaded before proceeding.
Step 3: Access the Browser Menu
Look for the menu icon within your browser – usually represented by three dots or lines. Click on it to open the browser menu.
Step 4: Pinning the Website
In the browser menu, you’ll find an option labeled “Pin to Taskbar” or something similar. Click on this option, and a prompt will ask you to confirm the pinning.
Step 5: Organizing Pinned Websites
Once pinned, you can click and drag the pinned website’s icon to your desired position on the taskbar. This helps you organize your pinned websites for easy access.
Read more
Is It Safe To Uninstall A Laptop Keyboard Driver
Pinning a Website to the Dock on Mac
Pinning a website to the dock on your Mac can save you valuable time and streamline your online activities. With a simple drag-and-drop action, you can have quick access to your favorite websites without the need to open multiple tabs in your browser.
Step 1: Launch Safari or Your Preferred Browser
Open Safari or the browser you prefer to use on your Mac.
Step 2: Visit the Desired Website
Type in the URL of the website you want to pin in the address bar and wait for the page to load completely.
Step 3: Drag and Drop to the Dock
Click on the small icon located to the left of the website’s URL in the address bar and drag it to your dock. Release the mouse button to pin it.
Benefits of Pinned Websites
Pinning websites to your taskbar, dock, or browser can significantly enhance your online experience by offering a range of practical advantages. From easy access to reduced clutter, here’s a summary of the benefits you can enjoy:
Easy Access to Favorite Sites
Pinning websites to your taskbar or dock means your favorite sites are just a click away. No more typing in URLs or searching through a sea of tabs.
Reduced Clutter and Tab Overload
Let’s face it – too many open tabs can lead to confusion. By pinning websites, you can reduce tab clutter and focus on the essentials.
Faster Browsing Experience
Pinned websites often load faster than opening them in new tabs, giving you near-instant access to the content you need.
Read more
How to Reinstall Windows 11 (Easy Way)
Customizing Pinned Website Icons
Most browsers use the website’s favicon (the small icon displayed in the browser tab) as the pinned icon. However, you can customize these icons for easier identification.
Managing Pinned Websites
Effectively managing your pinned websites ensures a seamless and organized online experience. Here’s a concise summary of the key aspects to keep in mind:
Reordering Pinned Items
To rearrange your pinned websites, simply click and drag the icons within the taskbar or dock to your preferred position.
Removing Pinned Websites
If you no longer need quick access to a pinned website, right-click on the icon and select the “Unpin” or “Remove from Dock” option.
Tips for Efficient Taskbar Usage
- Limit the Number of Pinned Websites: While it’s tempting to pin every site you visit, focus on essentials to avoid clutter.
- Regularly Review Pinned Websites: Periodically reassess your pinned websites and remove those you no longer use.
- Organize by Categories: Group similar websites together for even quicker navigation.
Troubleshooting
Encountering issues with pinned websites? Troubleshooting can resolve common problems and ensure smooth navigation. Here’s a concise summary to help you troubleshoot effectively:
Website Doesn’t Load from the Taskbar
If a pinned website doesn’t load, ensure you have a stable internet connection and try clicking the icon again.
Taskbar Icons Not Displaying Properly
Should the icons appear distorted, you can reset the icon cache using built-in Windows tools.
Conclusion
Pinning websites to your taskbar or dock is a simple yet effective way to optimize your browsing experience. With easy access to your favorite websites and reduced tab clutter, you’ll find yourself working more efficiently than ever before.
This is the final part of this article. I have shared all queries about How to Pin a Website to the Taskbar. Hope you will understand all about it. If you have any queries regarding this please comment through the box. Don’t forget to share it with your friends & family.
Please click here to see the new post. Thank you!!!


